

Drawing a basket is simpler than you think. Begin by sketching the outline of the basket using light, continuous lines. Add details like the weave pattern and handle to bring it to life. In this guide on how to draw a basket, you’ll learn easy steps to create a realistic and charming illustration. Let’s dive in and unleash your artistic skills!

How to Draw a Basket: A Step-by-Step Guide
Drawing a basket may seem daunting, but with a little guidance and practice, you can create a beautiful and realistic basket in no time. In this step-by-step guide, we will explore the art of drawing a basket, from sketching the basic shape to adding intricate details that bring your drawing to life. So, grab your pencils and paper, and let’s get started on this creative journey!
Materials You Will Need:
Before we dive into the drawing process, gather the following materials:
- Pencil
- Eraser
- Drawing paper
- Colored pencils or markers (optional)
Having these supplies ready will ensure a smooth drawing experience and allow you to make corrections along the way.
Step 1: Sketch the Basic Shape of the Basket
Start by drawing a horizontal oval shape in the center of your paper. This will serve as the base of your basket. Next, draw two slightly curved lines extending upwards from the ends of the oval to create the sides of the basket. Connect these lines with a curved line at the top to form the rim of the basket.
Step 2: Add Depth and Texture
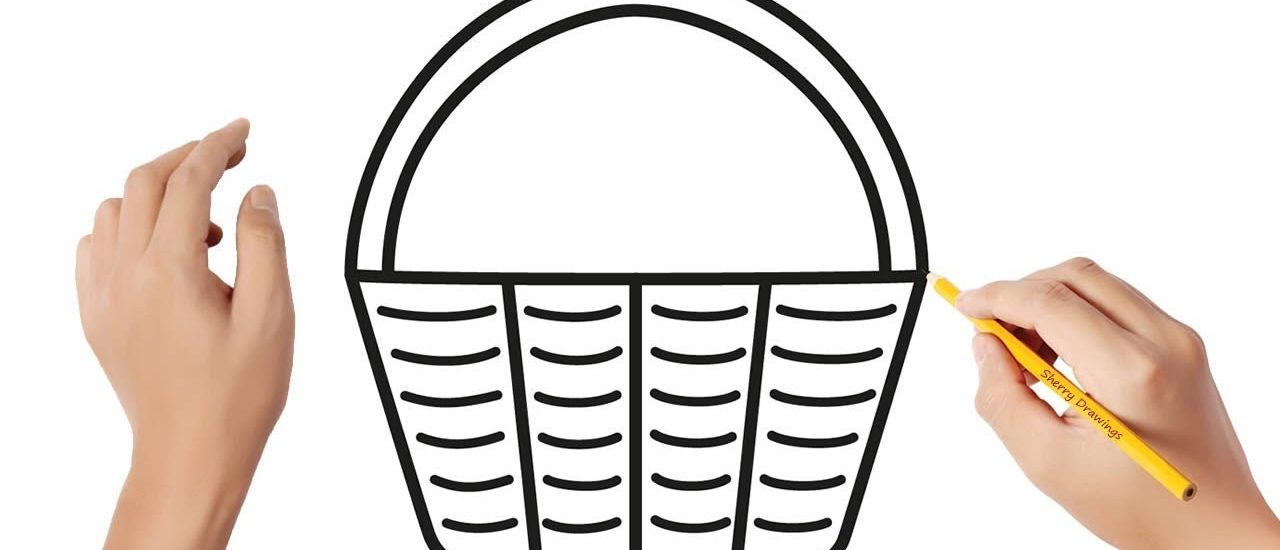
To give your basket depth, add vertical lines along the sides to create the woven effect. These lines should be slightly curved to follow the shape of the basket. You can vary the spacing and thickness of these lines to add texture and make your basket look more realistic.
Step 3: Shade and Add Details
Now it’s time to add shading to your basket to create dimension. Start by shading the area beneath the rim of the basket to create a sense of depth. You can also add shading to the woven pattern to make it stand out. Use your pencil lightly at first and gradually build up the shading to achieve the desired effect.
Step 4: Final Touches
To add the finishing touches to your basket drawing, you can add some decorative elements such as flowers or fruits spilling out of the basket. Get creative with colors and patterns if you’re using colored pencils or markers. Don’t forget to add shadows beneath the basket to ground it and make it look more realistic.
Tips for Drawing a Realistic Basket
– Study real-life baskets to understand their shapes and textures.
– Practice drawing different types of baskets, such as woven or wicker baskets, to improve your skills.
– Experiment with different shading techniques to create depth and dimension in your drawings.
– Have fun and let your creativity flow as you draw your basket!
Drawing a basket can be a fun and rewarding experience, allowing you to explore your artistic skills and creativity. By following the steps outlined in this guide and practicing regularly, you can master the art of drawing a realistic basket. Remember to be patient with yourself and enjoy the process of creating beautiful artwork. So, grab your drawing supplies and start sketching your own unique baskets today!
How to DRAW a Basket of FRUITS Easy and Simple
Frequently Asked Questions
How can I start drawing a basket?
To begin drawing a basket, sketch out the basic shape of the basket using simple lines. Start by drawing a horizontal oval or circle for the base of the basket. Then, draw vertical lines to create the sides of the basket, making sure to leave an opening at the top for the opening of the basket.
What details should I add to make the basket look realistic?
To make your basket drawing look more realistic, add woven patterns to the sides of the basket. Draw overlapping curved lines to create the appearance of weaving. You can also add texture by shading areas where shadows would naturally fall, such as underneath the woven patterns and along the edges of the basket.
How do I draw the handle of the basket?
To draw the handle of the basket, extend a curved line from one side of the opening at the top of the basket to the other side. Make sure the handle is proportionate to the size of the basket and add thickness to it by drawing a parallel line next to the initial line. You can also add details like a braided or twisted pattern to make the handle more visually interesting.
Final Thoughts
To draw a basket, start by sketching an oval shape for the base. Add vertical lines to create the basket’s height. Then, draw curved lines to form the handle. Next, add detailing like weaves and texture. Remember, practice is key in mastering how to draw a basket. Keep refining your technique to achieve a realistic and captivating result. Happy drawing!